About This Article
Shift types make setting up events even easier and certainly faster. Shift types aren't shifts themselves, they are more like shift templates. They don't become shifts until you add them to an event. You can then assign Members to occupy that shift.
This article will focus on the creation of Shift Types.
Related
In this article:
Where the Shift Types Are Located
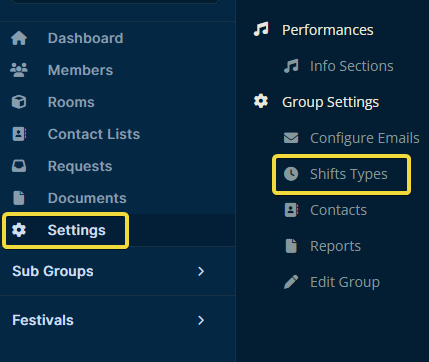
From your group dashboard, click Settings, then under the category Group Settings, click Shift Types.
Creating a New Shift Type
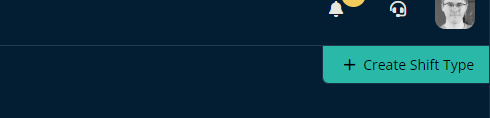
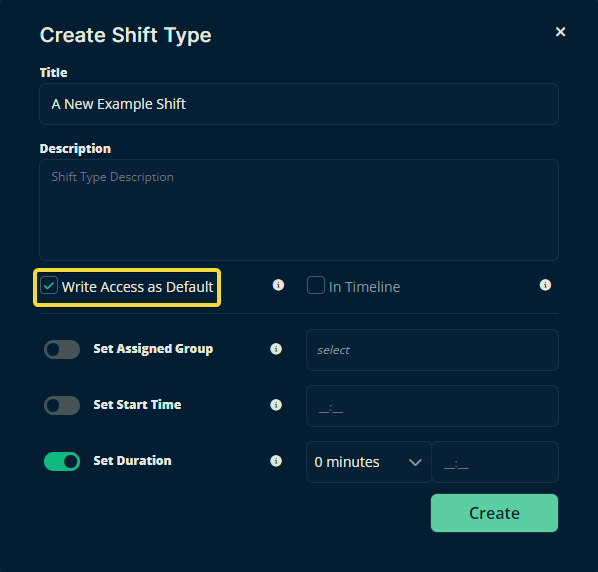
Once you've arrived, you can create a new shift type by clicking Create Shift Type on the upper right-hand side.
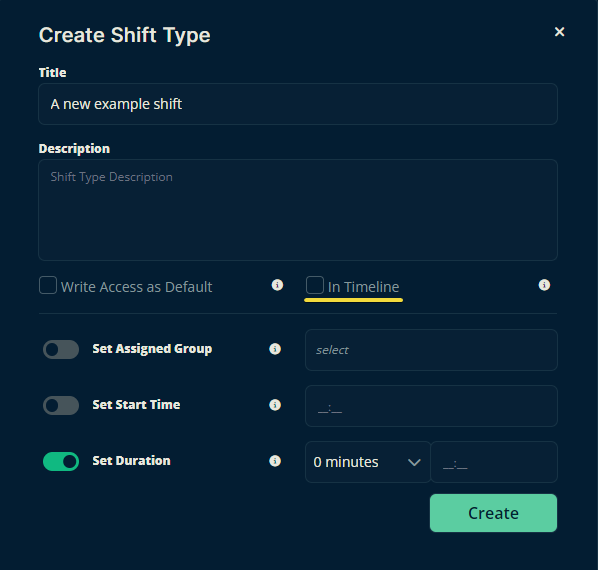
Then enter all of the details relevant to this shift type. We'll leave In Timeline unchecked for now and we'll check it off later in this guide.
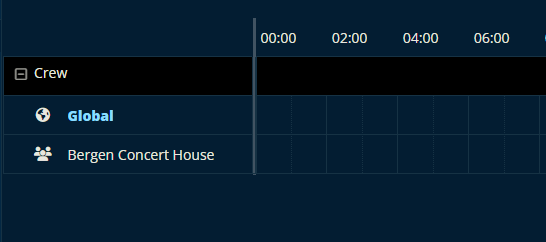
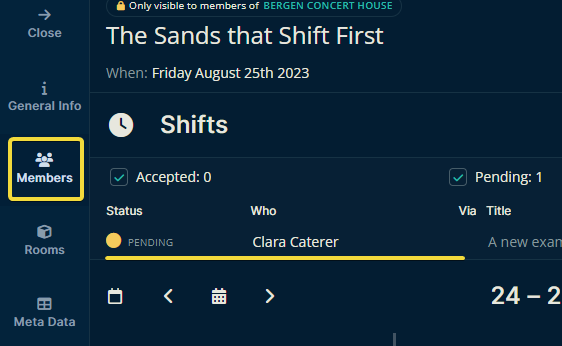
Here is the Event Timeline of an event where that shift type is being used (to add shift types to events, click here). Notice that the timeline does not display the name of the person who has the shift. This is because we left In Timeline unchecked.
To include the shift's members in the timeline, click Members on the right from within the event and the inspector panel will slide out. Then click the shift you want to edit.
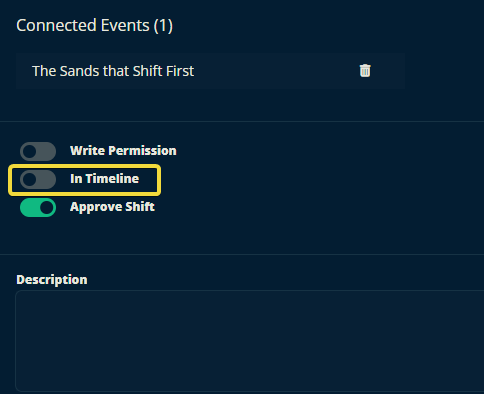
Now the In Timeline element is a toggle switch instead of the checkbox we seen when creating the shift type.
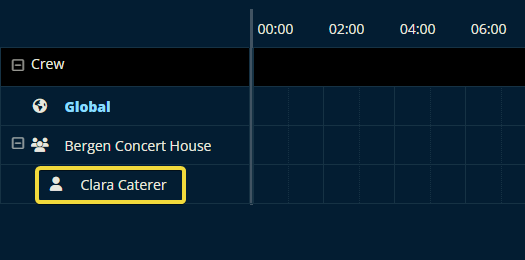
Here's that same timeline again after enabling In Timeline. Now we see our Member, Clara, and we can assign her tasks by clicking on one of her open timeslots.
Finally, anyone assigned to a shift with "Write Access as Default" will be able to make changes to the event they are involved in. For more on write access in events, click here.
Let us know below if this article helped you understand how to create shift types for your group.
All the best, Team Crescat.