About This Article
Event Request Responses can be sent via the requester's email address with a click when either accepting or declining an Event Request. This article will show you how to create and send one.
Contents
Locating the Event Request Responses
Open your group settings, then click Event Request Responses under Requests and Shared Calendars.

Creating a New Response
Once you arrive, you may create a response for either an accepted or declined event request. The process is the same for both and we'll choose Accepted for this guide's example.

With whichever one you choose, you can click Add Response to create a new response of that type.

Then you can give your response a descriptive title that relates to the use case, followed by your reply to the requester.

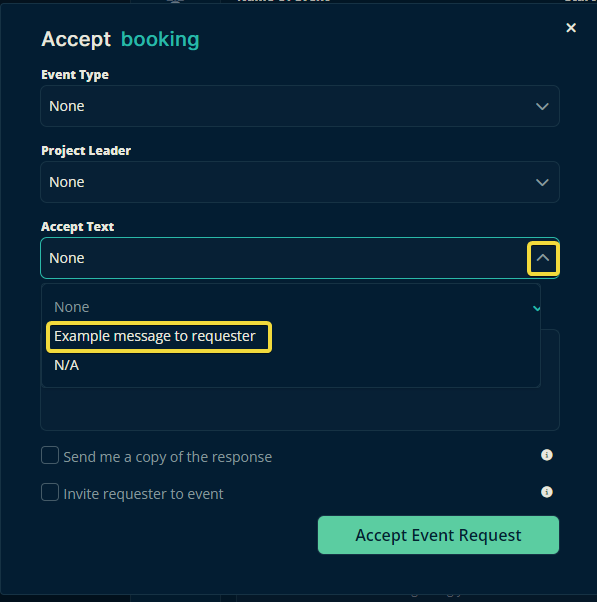
Sending a Response
Once you've created a response message you may send it when you accept or decline an event request.
Please, let us know below if this article helped you understand how to create and send Event Request Responses.
All the best from us at Team Crescat!