Create & Edit an Event in the Scheduler
Creating & Editing Festival Events in the Scheduler is quick and easy.
About This Article
The scheduler shows you the big picture of the events within your festival. It's also where events are Created, which we will be walking through in this article. This article assumes you have set up a Festival Event Type and a Performance Type, but it isn't required to follow along.
Locating the Scheduler
Inside Festivals in the sidebar, select the festival you want to view or change and click Scheduler.
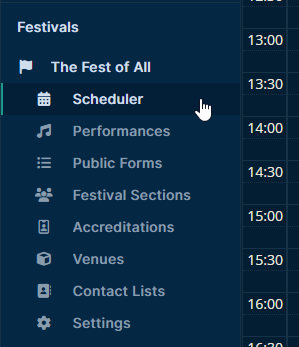
Using the Right Edit Mode
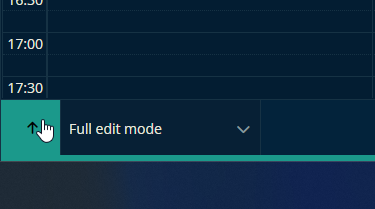
Before creating any events, It's a good idea to take a look at the bottom of the scheduler that opens up and ensure that Full edit mode is selected.
Creating a New Event in the Scheduler
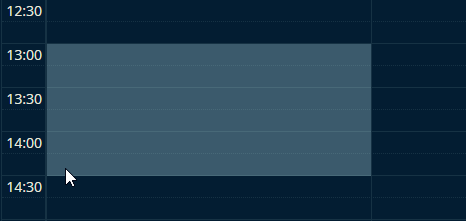
Click and drag a timeslot in the scheduler to get started.
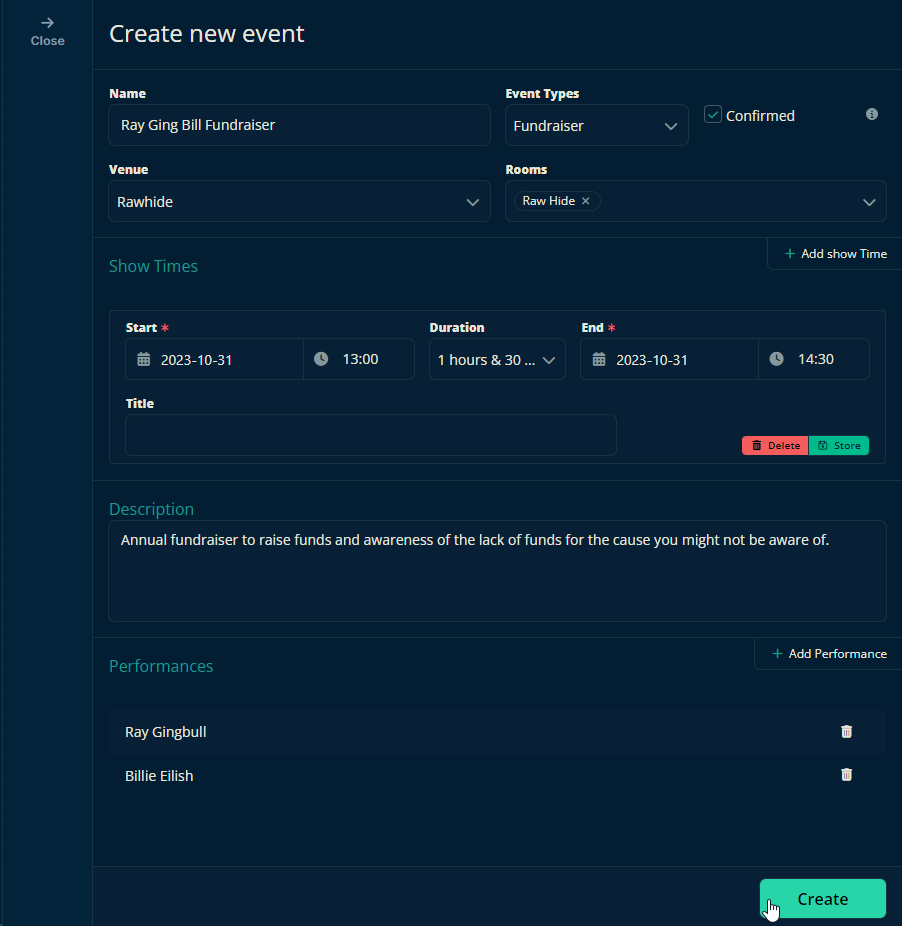
In the pane that pops open, fill out the event's details like its name, description, event type, performances, show times, etc. When you're ready, click Create—you can edit these details later if you'd like.
Your event has been created. In this example, the pink color has been added to the event by its "Fundraiser" event type. The event to its right is what an event with a performance but no event type looks like. The event on the far right is an empty event with just a name.

Editing the Event
If you need to make any adjustments, there are several quick and easy approaches available. All of these changes should be done in Full edit mode as well.
Shifting the Event's Timeframe
If you need to change the event's start time but the duration of the event will remain the same, then click and drag the event to its new timeslot and simply let it go.

Changing the Event's Duration
If you want to change the event's start and/or end time without preserving the event's duration, simply resize the event in the Scheduler. It's as easy as clicking and dragging the edge of the event and moving it to the desired timeslot.

Making Bigger Changes
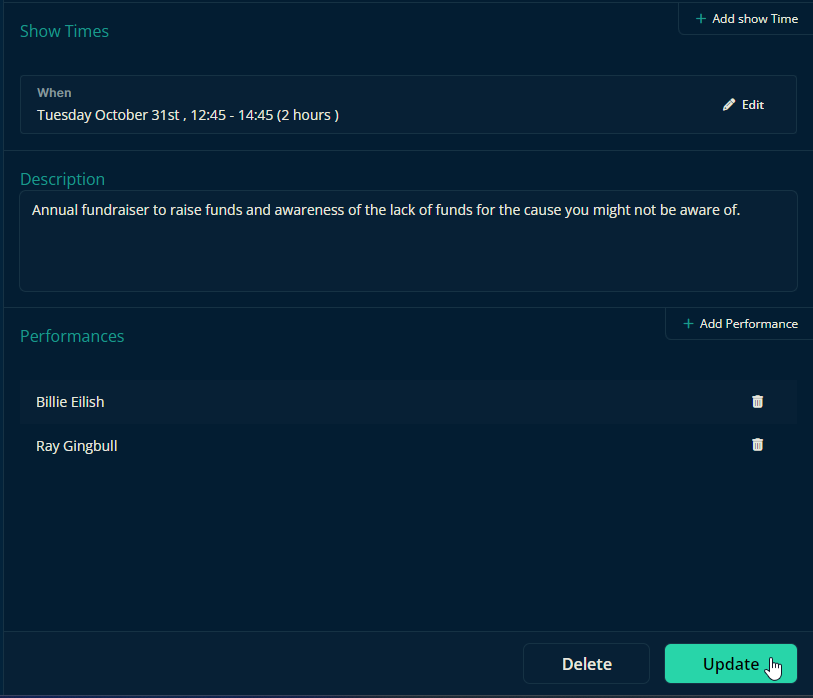
To make bigger or more precise changes to your event, locate the event you want to modify and click on it. This will open all the options available when setting up the event.
Take your time to review and modify any details you need, such as the event title, date, time, location, or any other relevant information.
Once you've made the necessary edits, click on the "Update" button and your changes will be saved, and the event will be updated with the new information.
Let us know below if this helped you understand how to create events in the Festival Scheduler.
All the best from us at Team Crescat!