About This Article
This article is about getting back your cancelled events. It also covers some basics and shows how to reveal them in the dashboard if they've disappeared. To learn how to cancel an event, click here.
Contents
- A Note About Deleted Events
- Identifying Cancelled Events in The Dashboard
- Reinstating the Cancelled Event
A Note About Deleted Events
We understand how frustrating it is to accidentally lose an important event. While we can't retrieve deleted events, we understand how much they mean to you and the urgency of the situation. Our best suggestion is to take the time to start afresh and rebuild it. Although we can't directly assist in recovering the event, we're here to offer any Crescat-related technical support or satisfy related questions you might have along the way. Best of luck with reestablishing the event!
Identifying Cancelled Events in The Dashboard
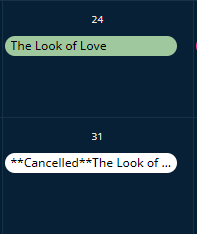
In the example below, the green version of the event is how it looked before being cancelled. The cancelled version has the prefix "**Cancelled**" and lacks color. Hard to miss, right?
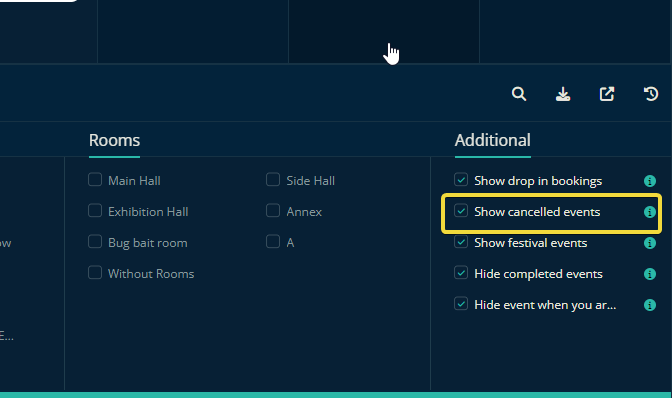
If the Event No Longer Appears in Your Dashboard
In this case, you can enable the filter labeled "Show Cancelled Events", which is located in the panel labeled Filter that you can slide out at the bottom of the Dashboard.
Reinstating the Cancelled Event
Reinstating an event is super simple. The rest of this article will guide you through the two ways you can reinstate cancelled events.
Reinstating an Event from The Dashboard
On your group dashboard, right-click the cancelled event (hold Control and click on a Mac) and select "Reinstate".

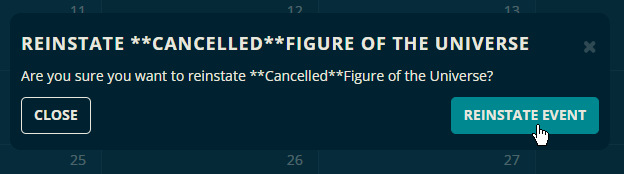
Then confirm that you really want to reinstate the event if that's still what you want.
And just like that, your event has regained its color and title and all the data within the event is still intact.

Reinstating an Event from The Event's Settings
You can get to the event's settings via the panel that slides out when you click an event in your dashboard, or from within the event itself.
On the panel that slides out when you click an event, click on the cancelled event and click the edit button on the panel that slides open.
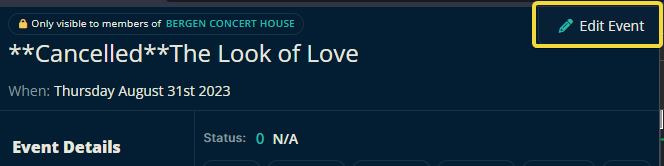
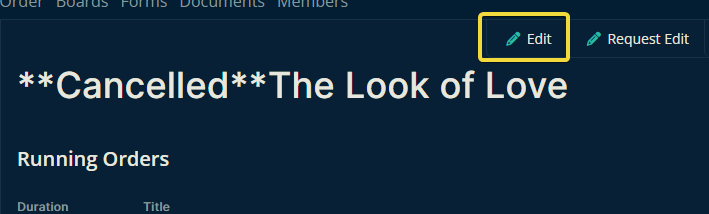
If you're already inside a Crescat Event, click the Edit action button from the Event Info tab.
Reinstate the Cancelled Event
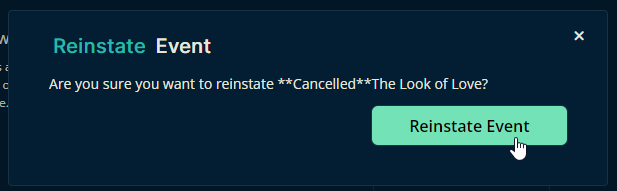
Once you arrive at the Edit Event page you can click the Reinstate Event button at the very bottom of the page.
Then simply confirm that you want to reinstate this event.
And just like with the "right-click" method, your event should have now regained its color and title and all the data within the event should still be intact.

Please let us know below if this article helped you understand how to reinstate cancelled events.
Best wishes from us at Team Crescat!