Public Forms: Volunteer Sign-Up
Learn how to add various types of fields to a Public Form (and create a volunteer sign-up form in the process).
About This Article
We'll be adding fields to a public form in this article. If you want a refresher on Field Types in Crescat, check out this overview.
Note
We'll be setting up a volunteer sign-up form in this example, but Public Forms can be used to invite all sorts of guests, organizers, and more!
Contents
- Navigating to the Public Forms
- Creating a New Public Form
- Adding Fields
- Section Types
- Bonus: Bulletins
Navigating to the Public Forms
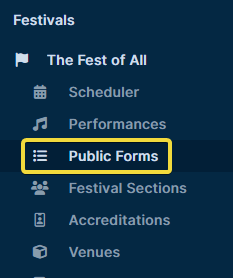
Reveal your festival in the sidebar if it isn't already visible, then select Public Forms.
Creating a New Public Form
To begin creating a new public form, click on the "Create" action button located in the upper right corner.

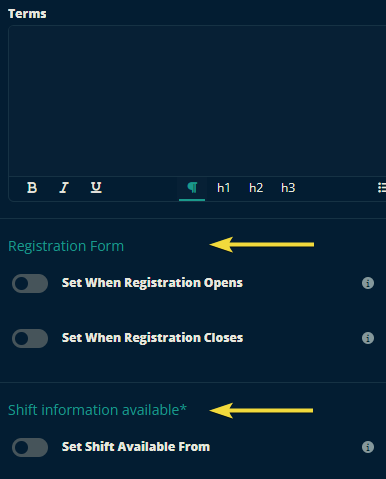
Once you've named your form, added a description, and added terms for the respondent to agree with, you can tailor some administrative details as per your requirements by selecting from the wide range of options available below.
Adding Fields
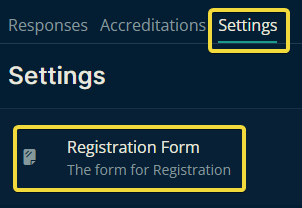
Now it's time to add some fields. Open your new public form, then the Settings tab, and finally, click Registration Form.
Tip
When creating a new public form, you'll want to check out the items below the Registration Form first.
Once you're in the Registration Form settings, click the Edit action button in the upper right corner.

Now you'll have a couple more options. Go ahead and select Add Section.

Section Types
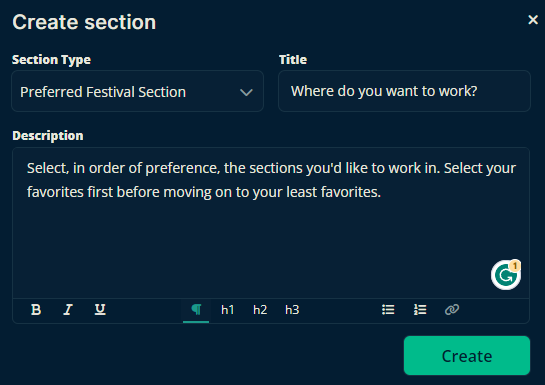
The menu box that appears will allow you to select a Section Type (featured in the images below), which determines the type of information that will be requested. Let's step through each type.
Preferred Festival Section
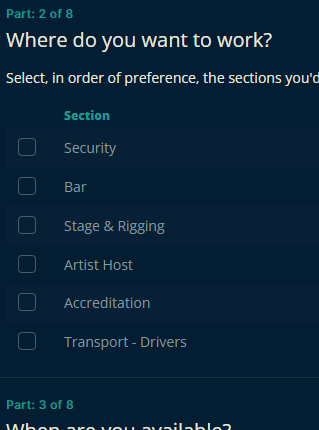
The user will be able to indicate in which section they'd like to work, prioritized by preference.
Reminder
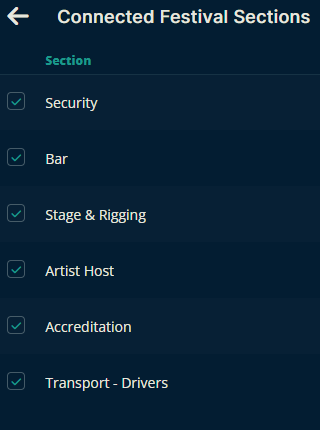
Some sections like this one will utilize resources set up in other places in the festival. For example, this Public Form section uses all connected Festival Sections.
| Connected Sections | What the Responder sees |
 |
 |
Preferred Time Slots
Similar steps above also work for adding Time Slots as exemplified below.
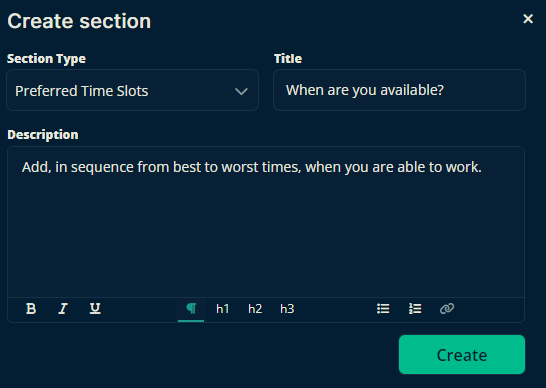
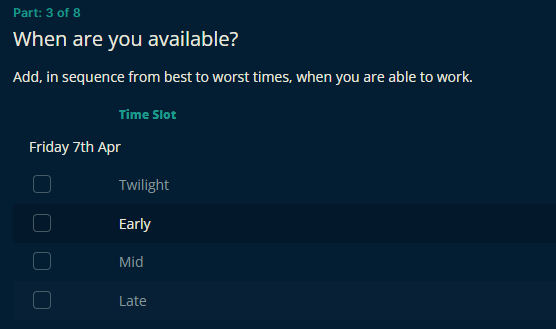
Once created, all the connected time slots will appear in the resulting form.
Information Section
The information Section type is a quick way to inform the recipient about whatever you want them to know. You can type whatever you'd like to communicate to the responder in the Description box.
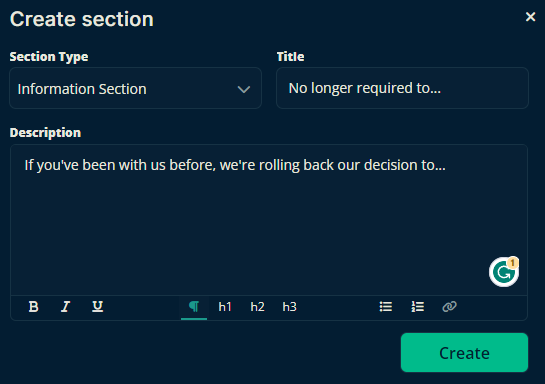
Tip
You can also add links to other resources, the event's homepage, etc.
This is how it looks from the responder's perspective.

General Purpose
As the name implies, you can use this type to create your own fields for a plethora of purposes. You'll need to create the section first, then you can add fields to it.
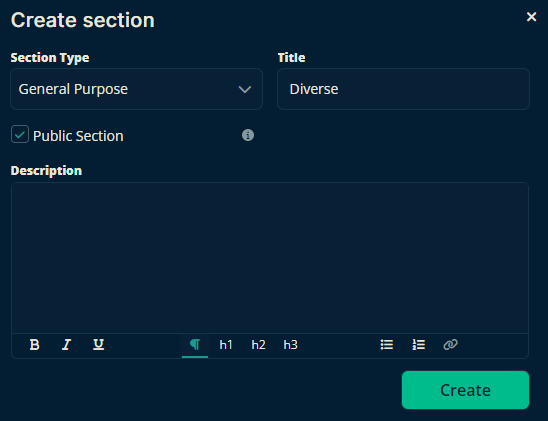
After you've created the General Purpose section, scroll to it within the registration form and click the Add Field button that appears on its right side.

Now we can create all sorts of fields, within this General Purpose section. You can find a detailed overview of Crescat's Field Types by clicking here.
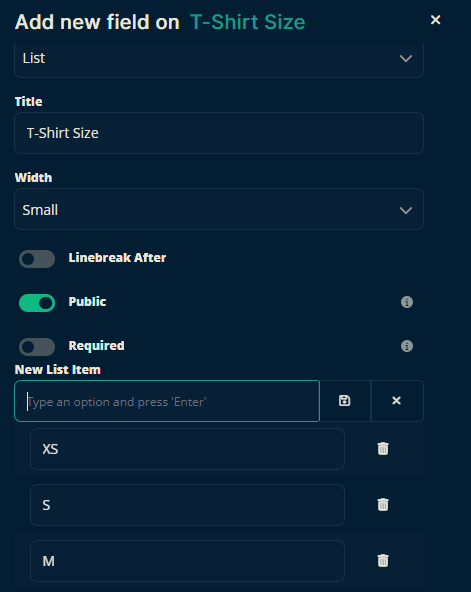
As you can imagine, you can use this Section Type to gather info on allergies, food preferences, special needs, etc.
Bonus: Bulletins (Info Sections)
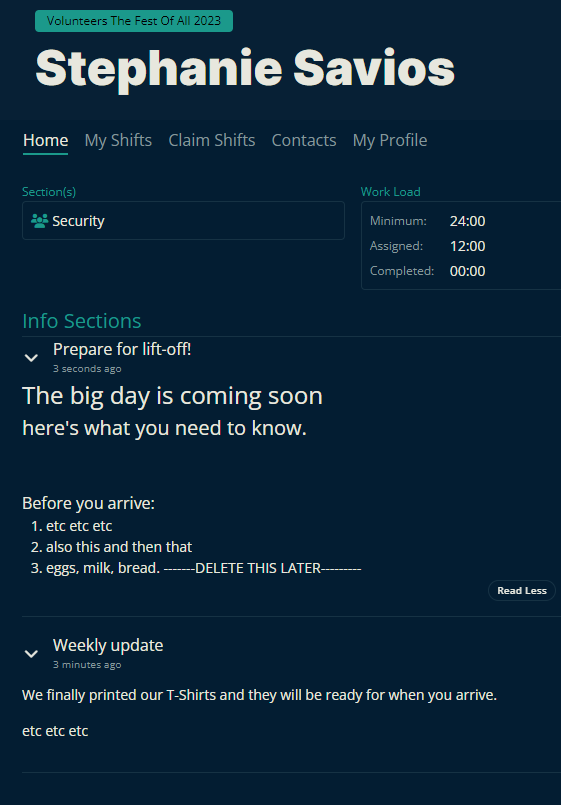
These Info Sections—located at Public Forms / Settings / Info Sections—lets you push whatever news, info, etc to the responder's personal page area.
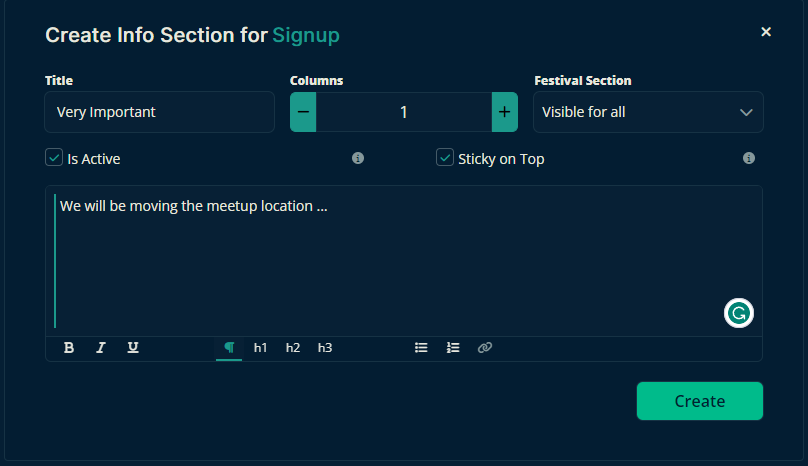
This is how they will appear to the user:
Let us know below if this helped you understand how to create a volunteer sign-up form.
All the best from us at Team Crescat.