About this article
This article will show you how to download a daysheet for both a single event and for many events within a timeframe.
There is also a way to generate detailed reports, but that is the focus of another article.
Downloading a daysheet for an event
Open the event's inspector panel by clicking the event, then click the event name or Go to Event.
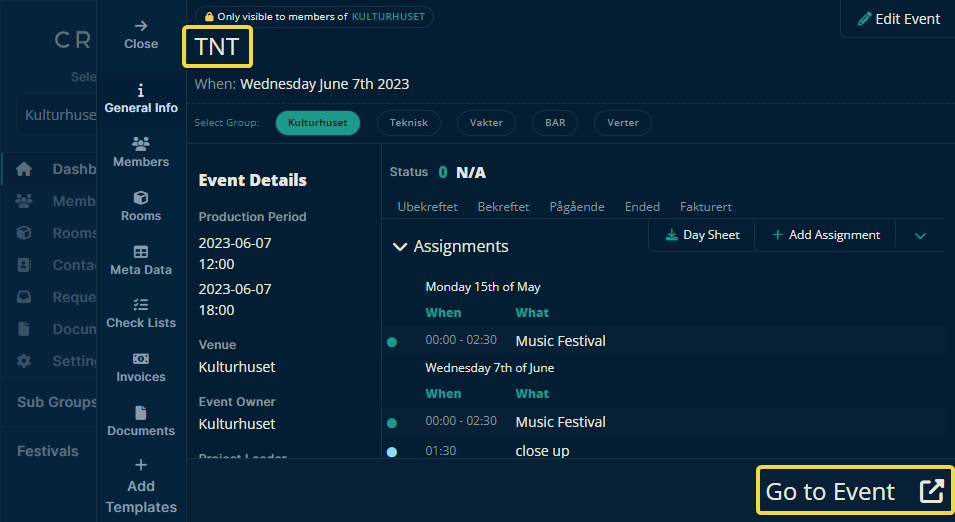
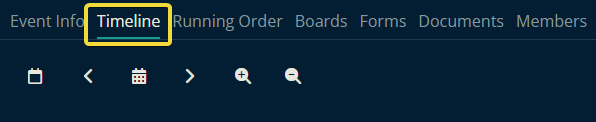
Then click on the event's "Timeline" tab.
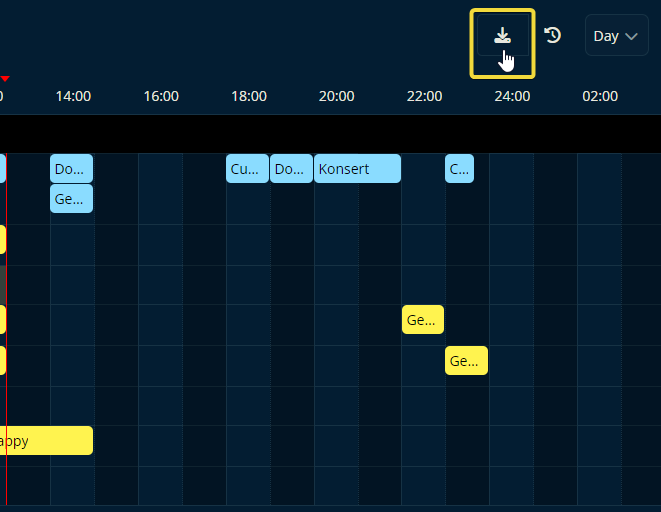
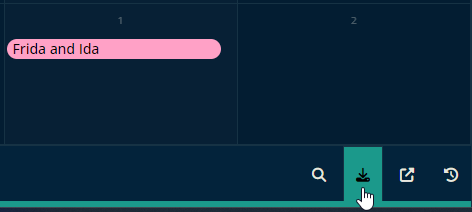
On the right side, you should see a download button like in the image below.
Once clicked, you can customize the content to include in your daysheet and then click download.
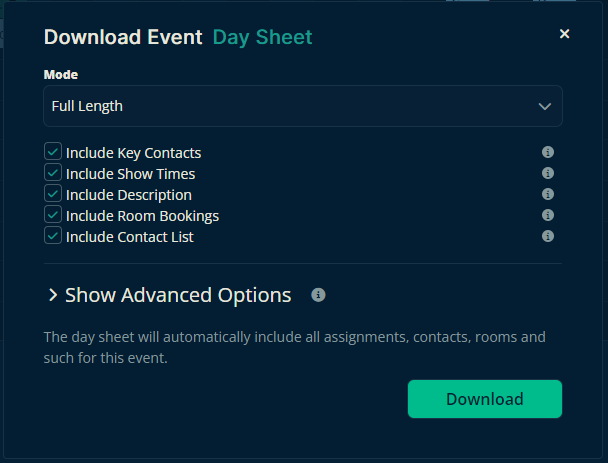
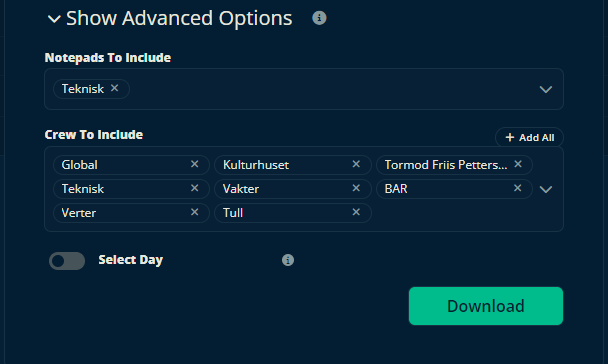
If you enable "Show Advanced Options", you will get a lot of additional details that you can add or remove from the resulting daysheet, as shown below.
Downloading daysheets for all events in a time range
This is just like downloading a daysheet for a single event, except it's done right from the dashboard where all of your group's events live.
From your group dashboard, click the download button located on the right side, as shown in the picture below.
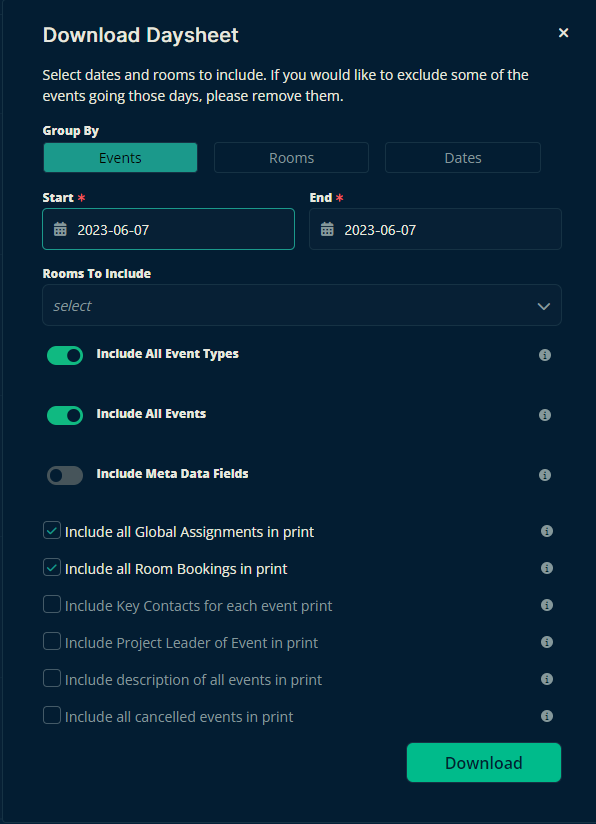
And this is where you take the wheel. Take your time and go through all the great options available. Once you've selected everything you need, click download to open your computer's file system.
You will then be able to select a destination and name the daysheet before saving it. That's it!
Let us know below if this article helped you understand how to download daysheets.
All the best from us at Team Crescat!